How To Create Shabby Chic Style Furniture
- By Alicia Newman
- Furniture
- views
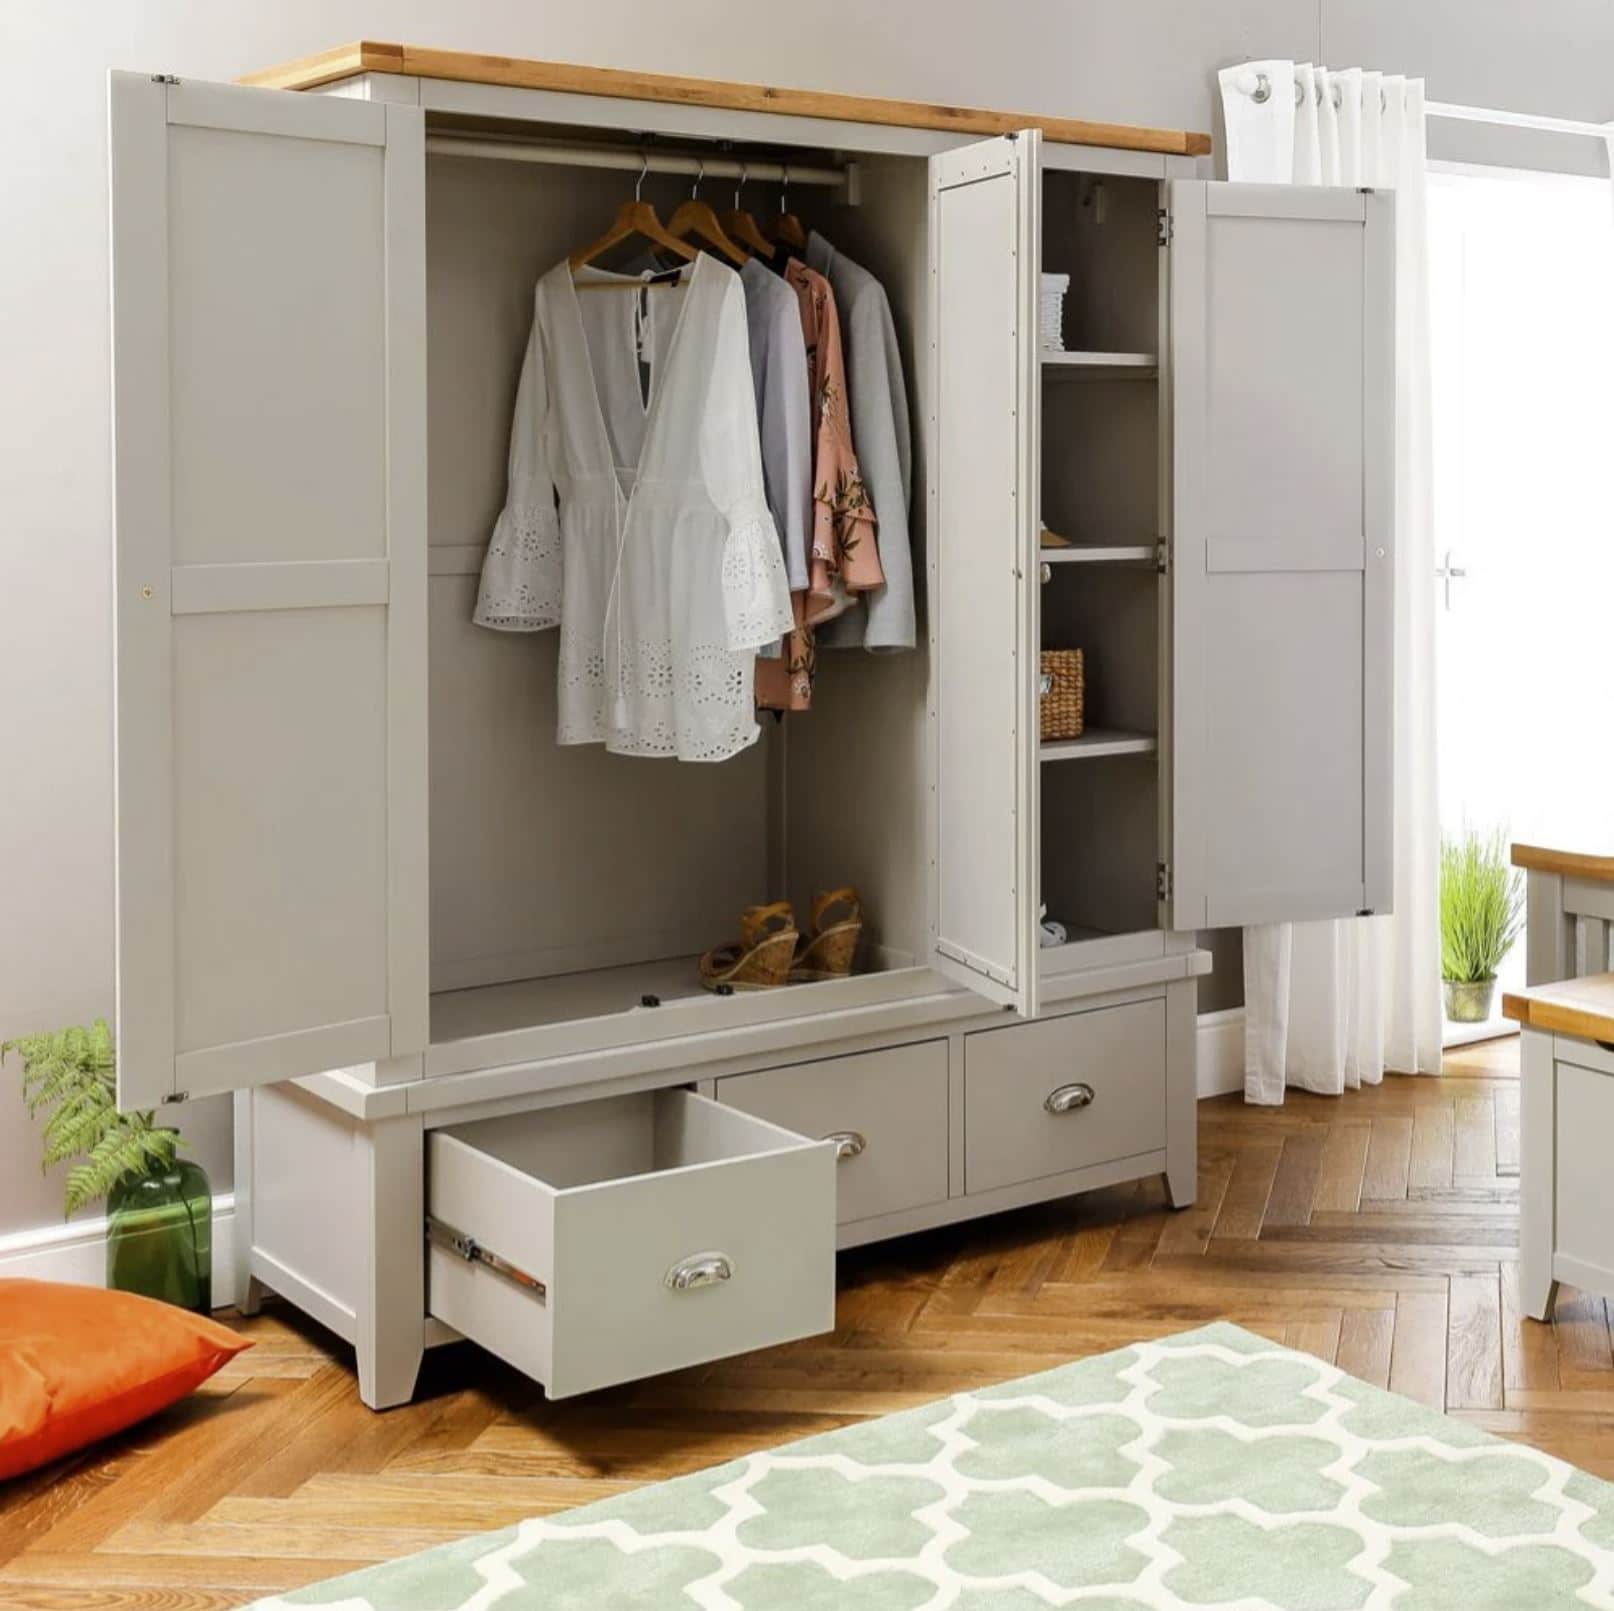
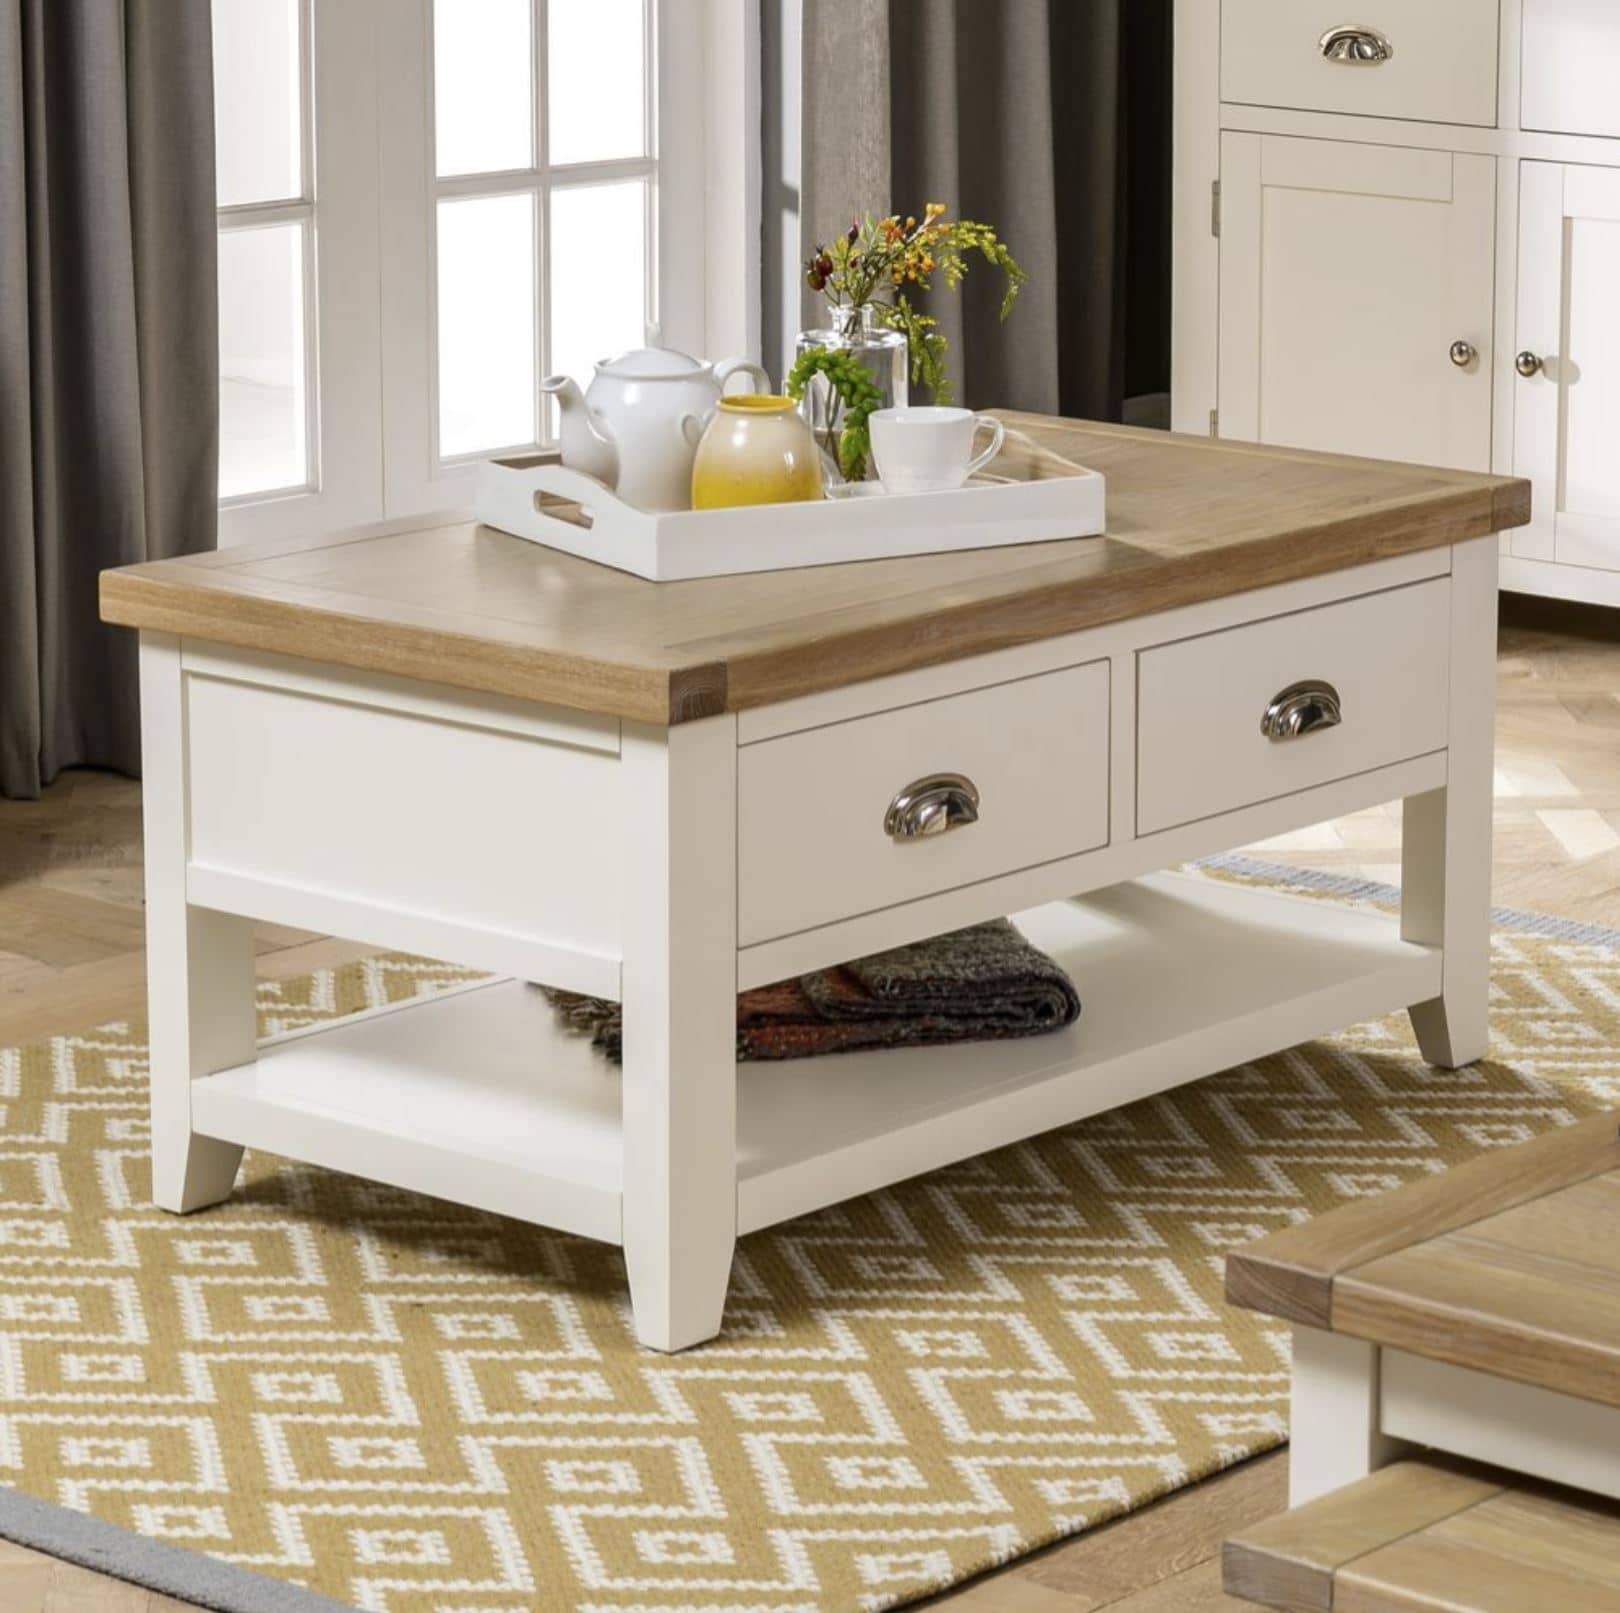
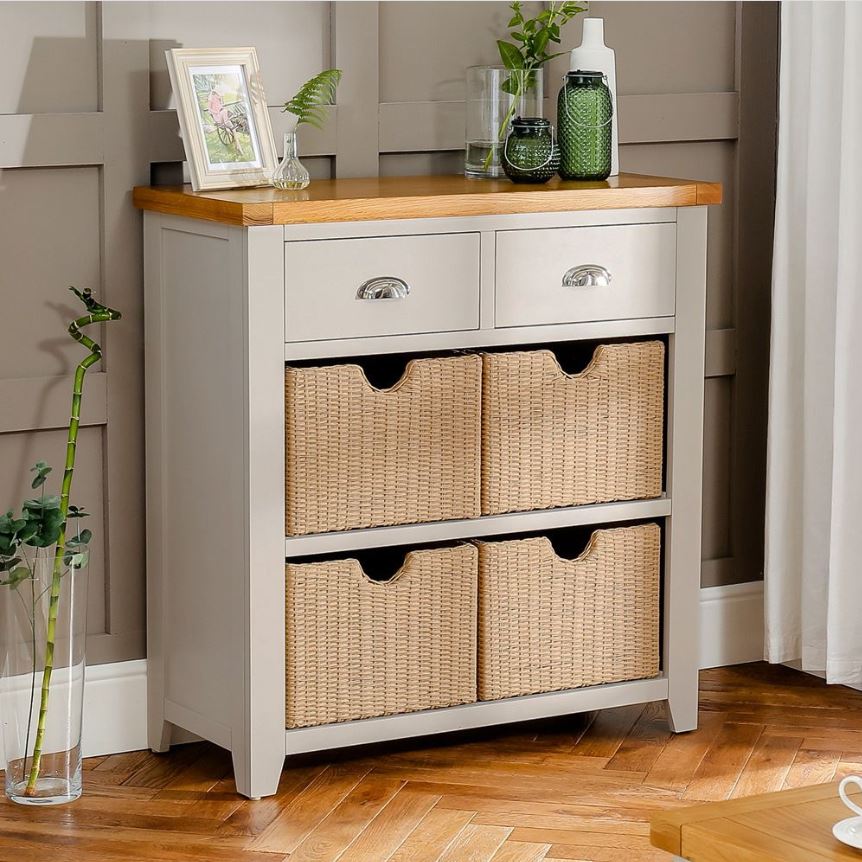
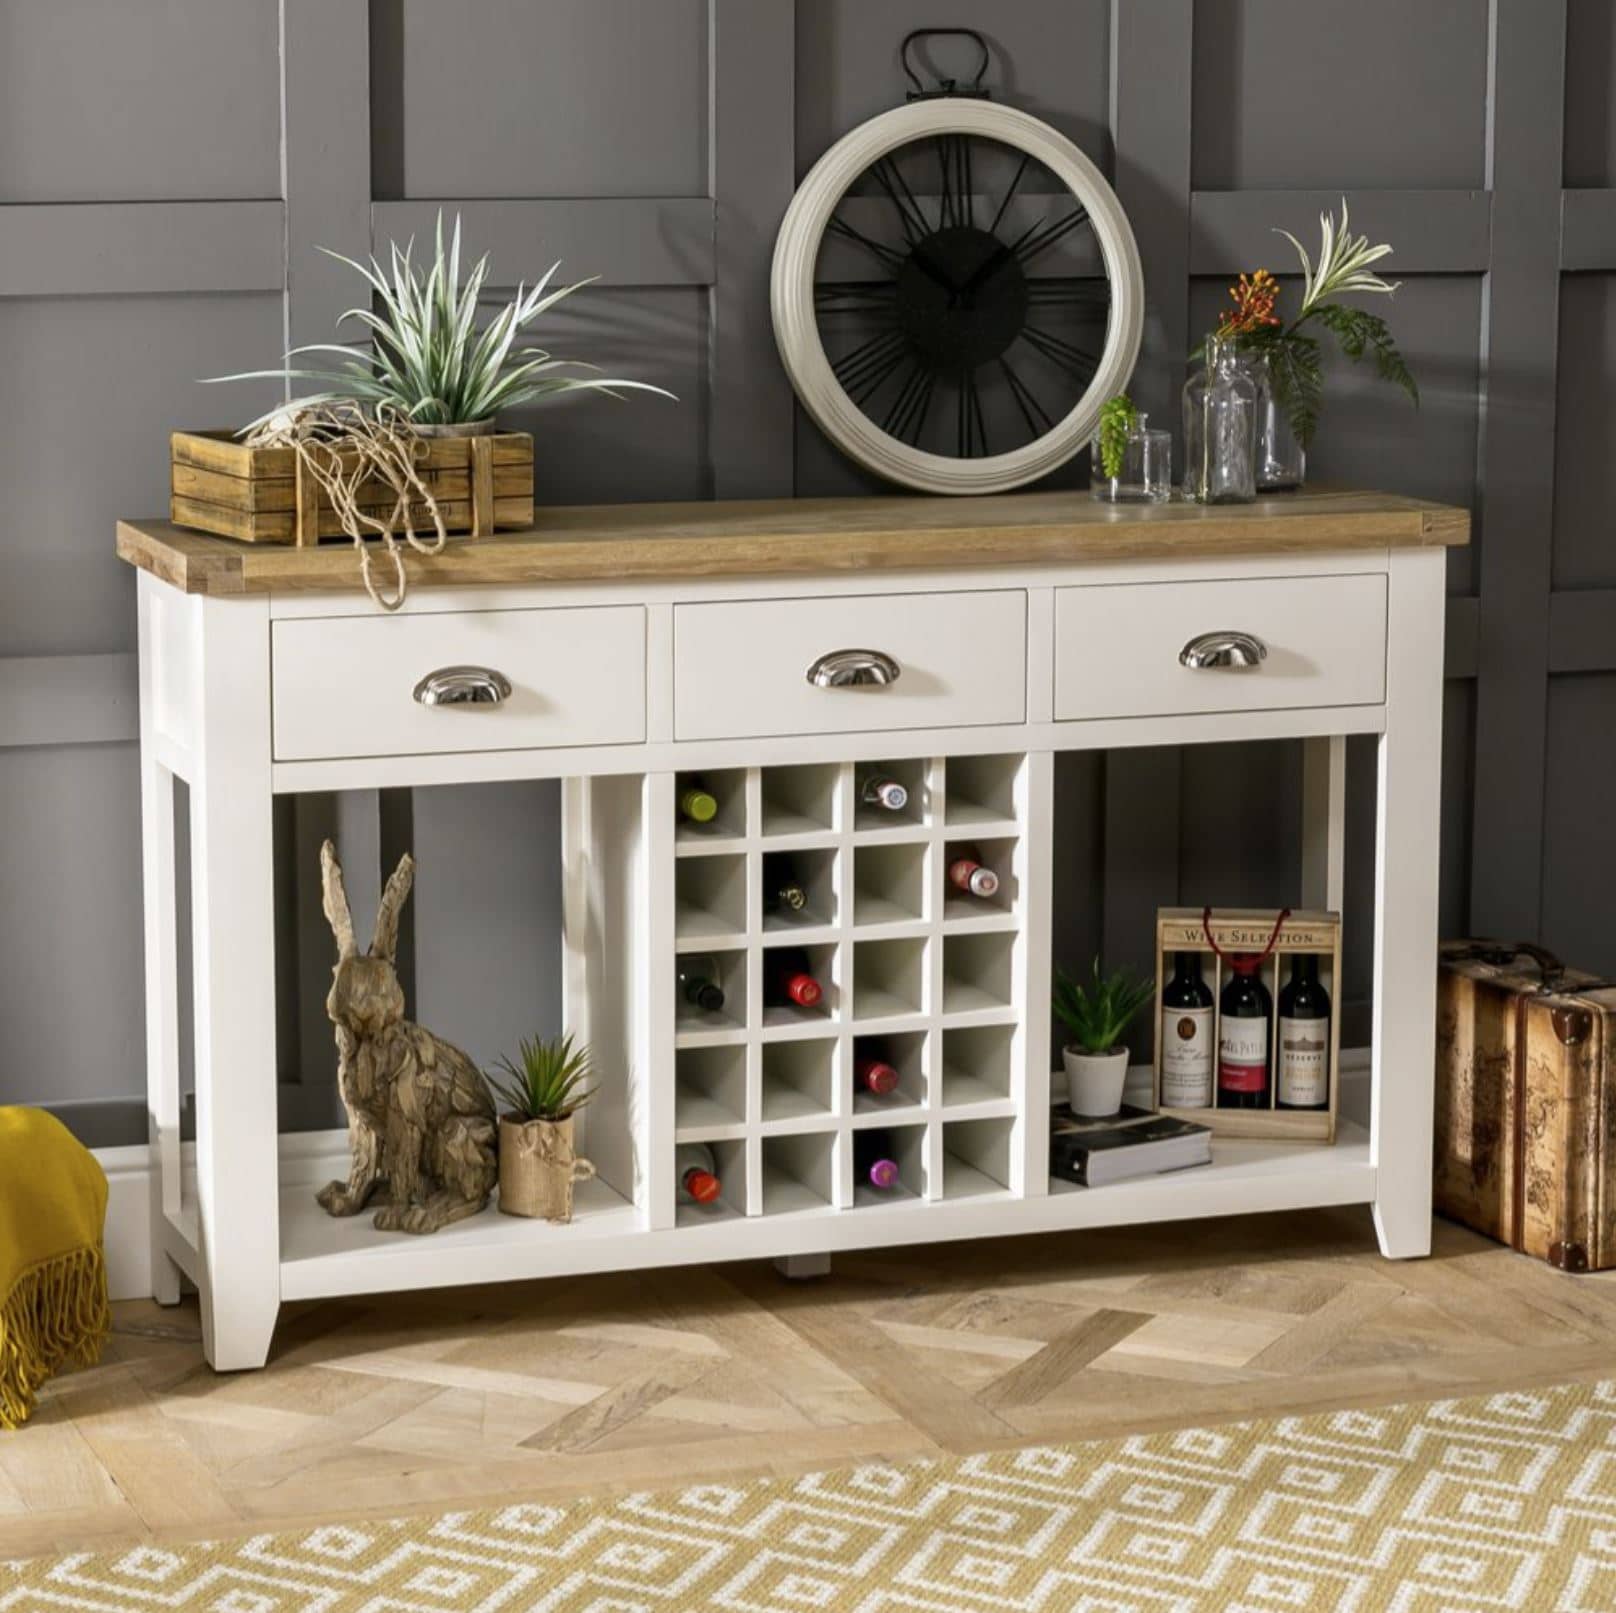
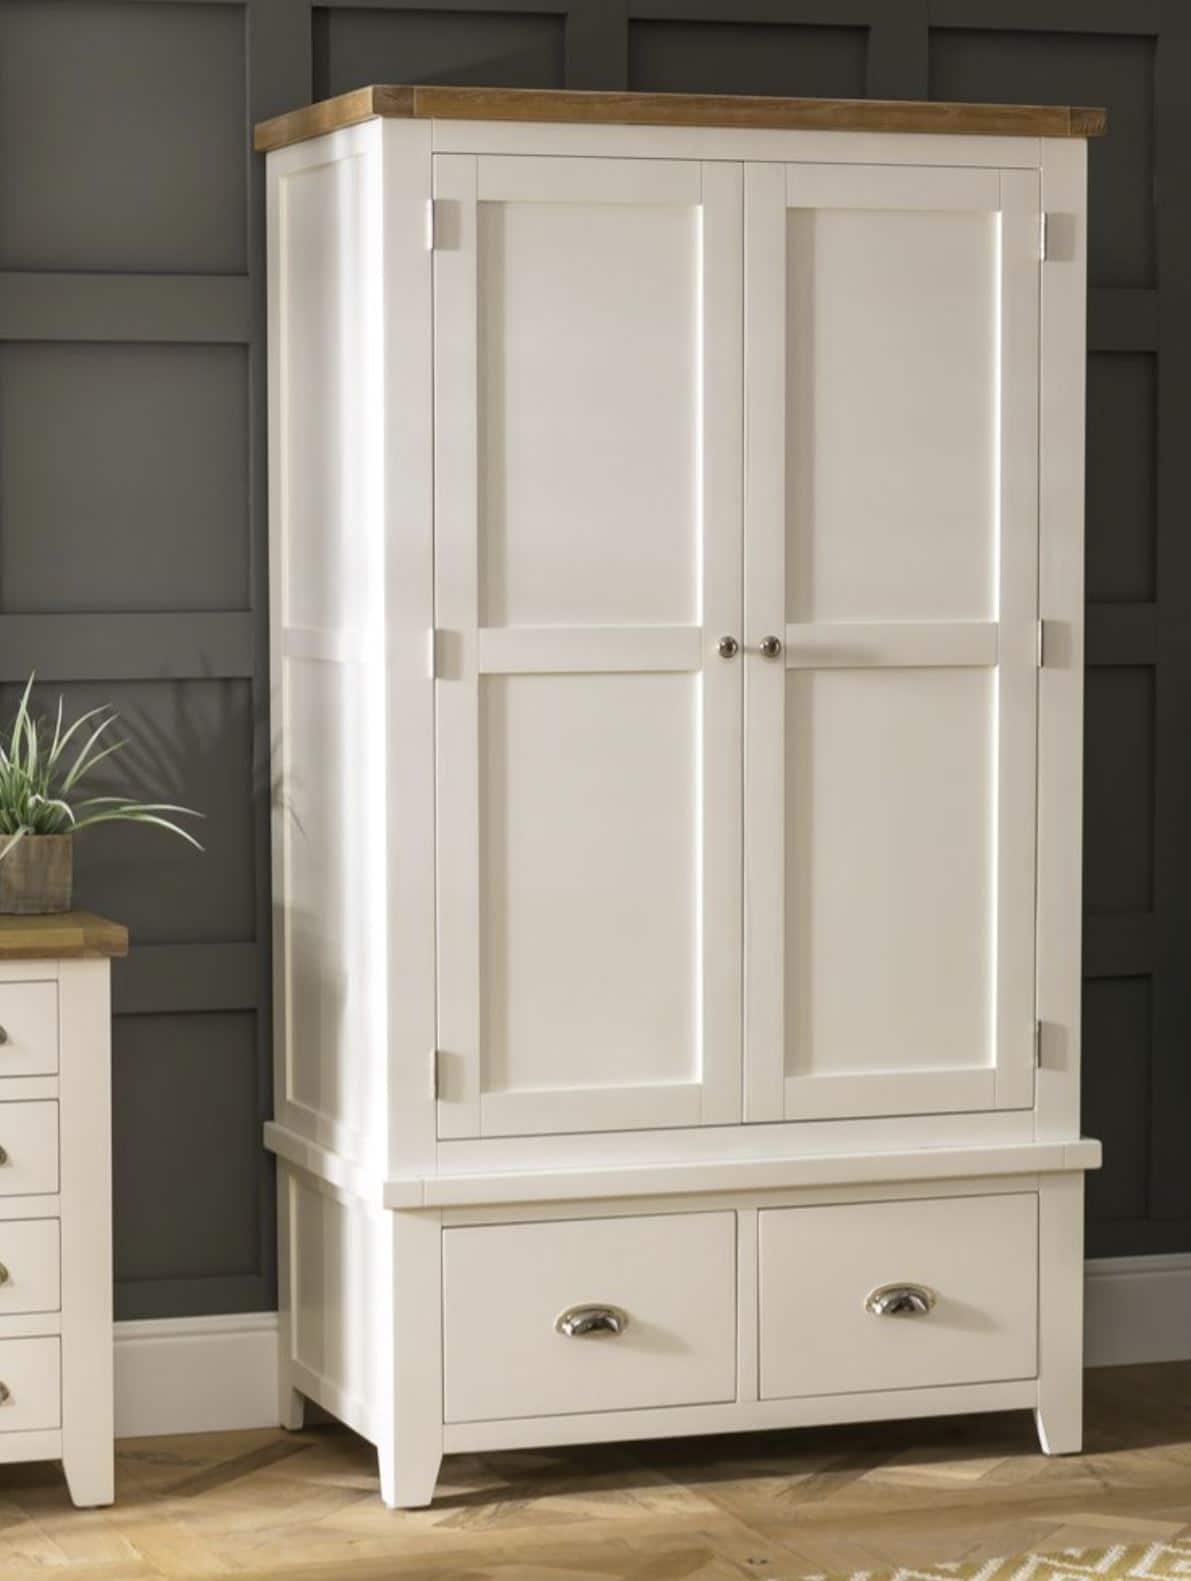
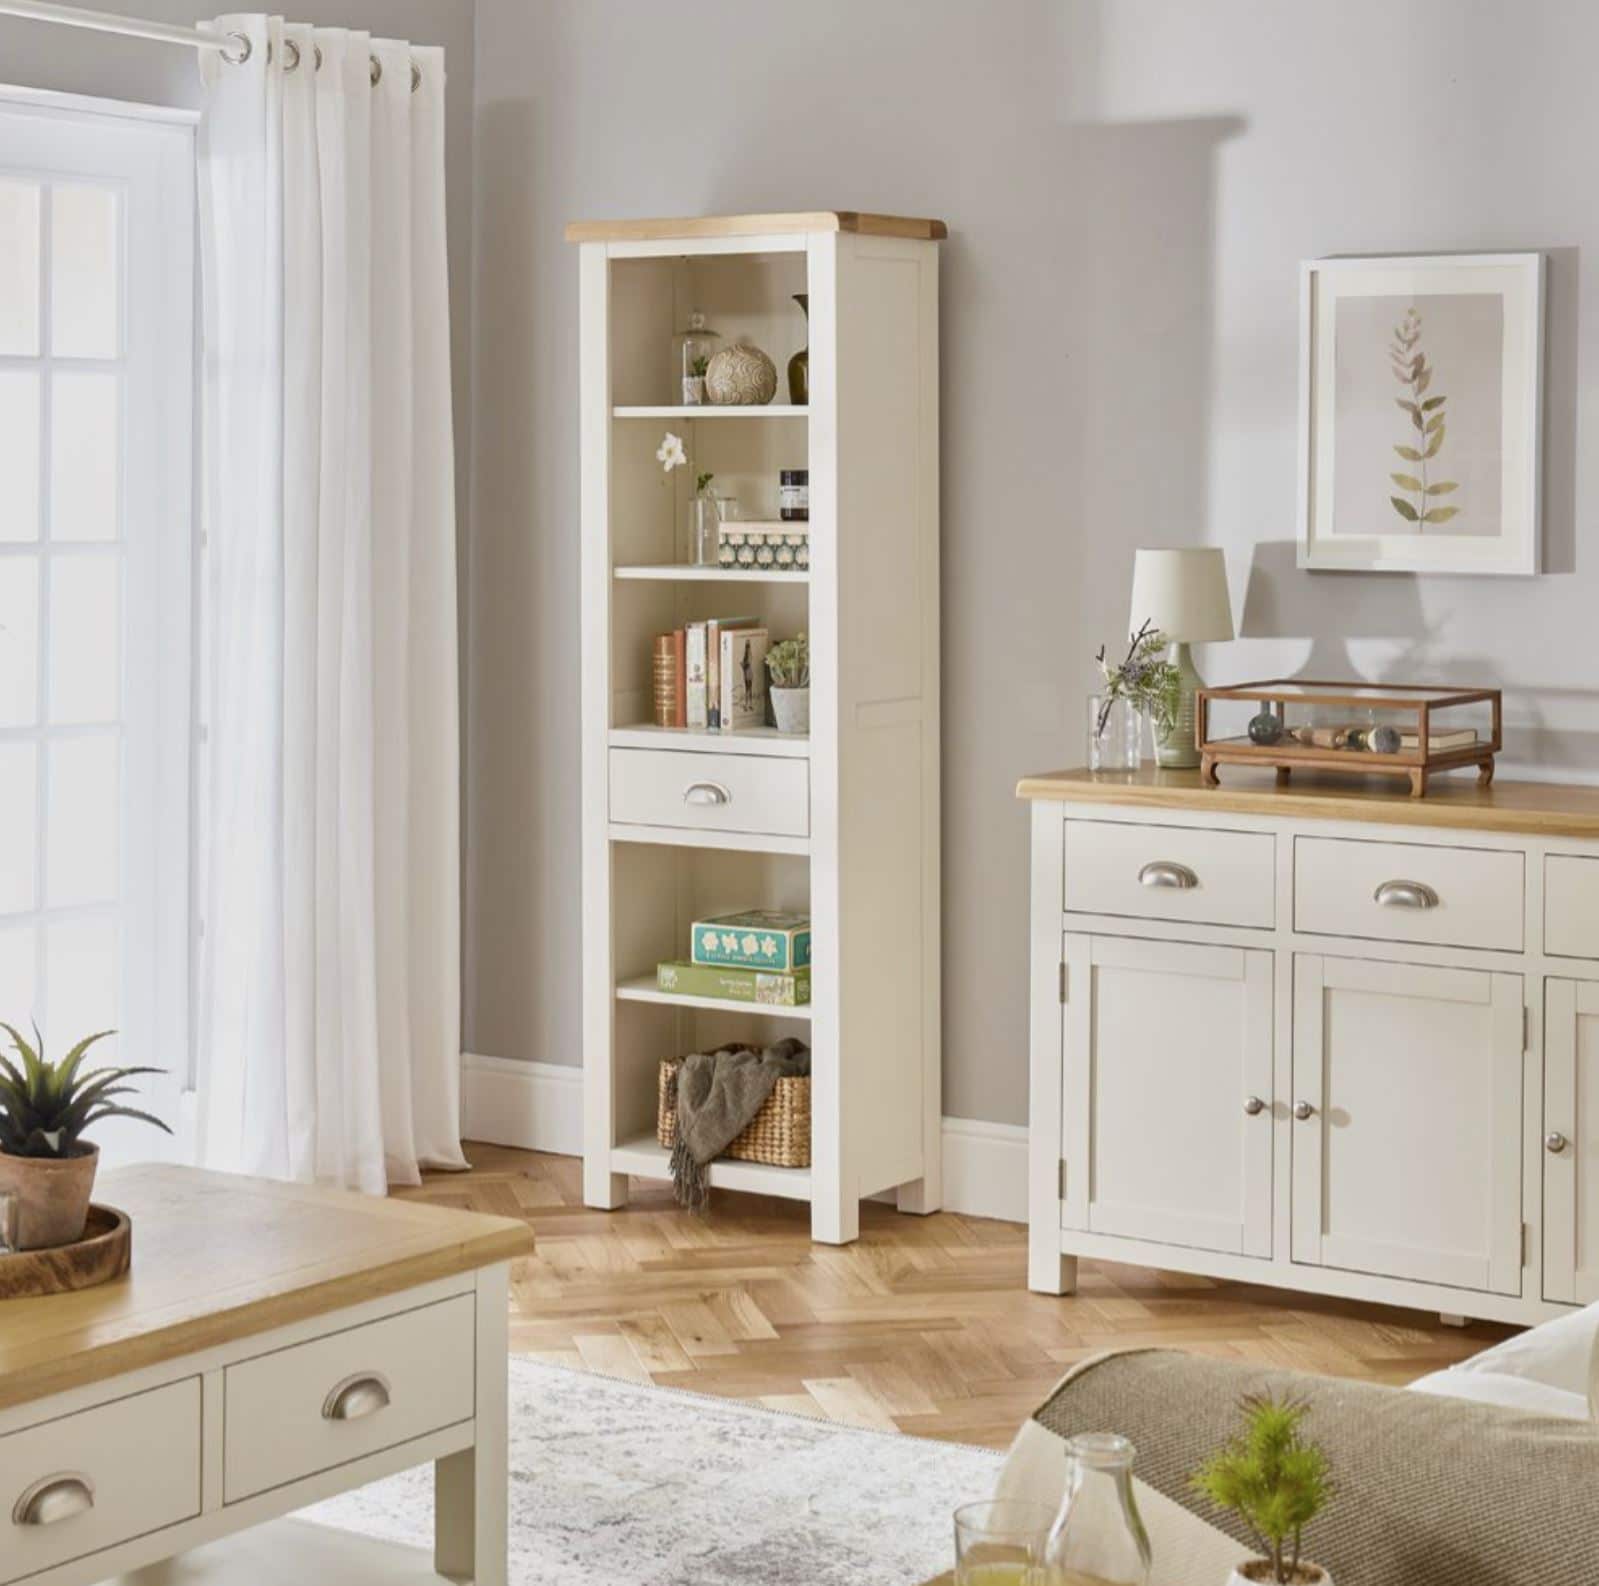
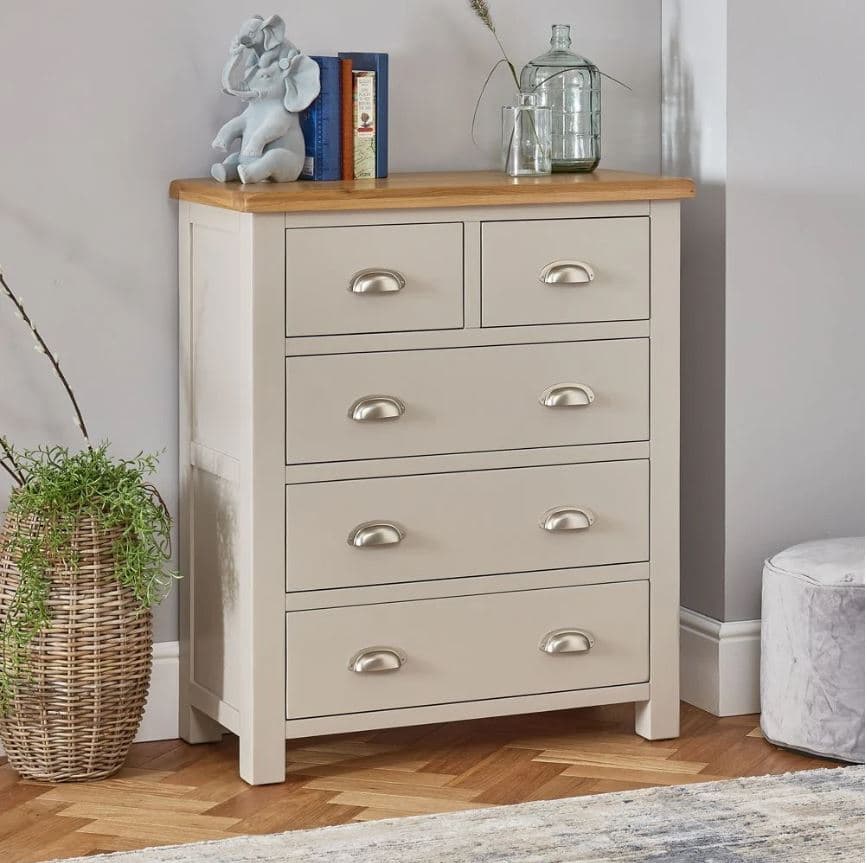
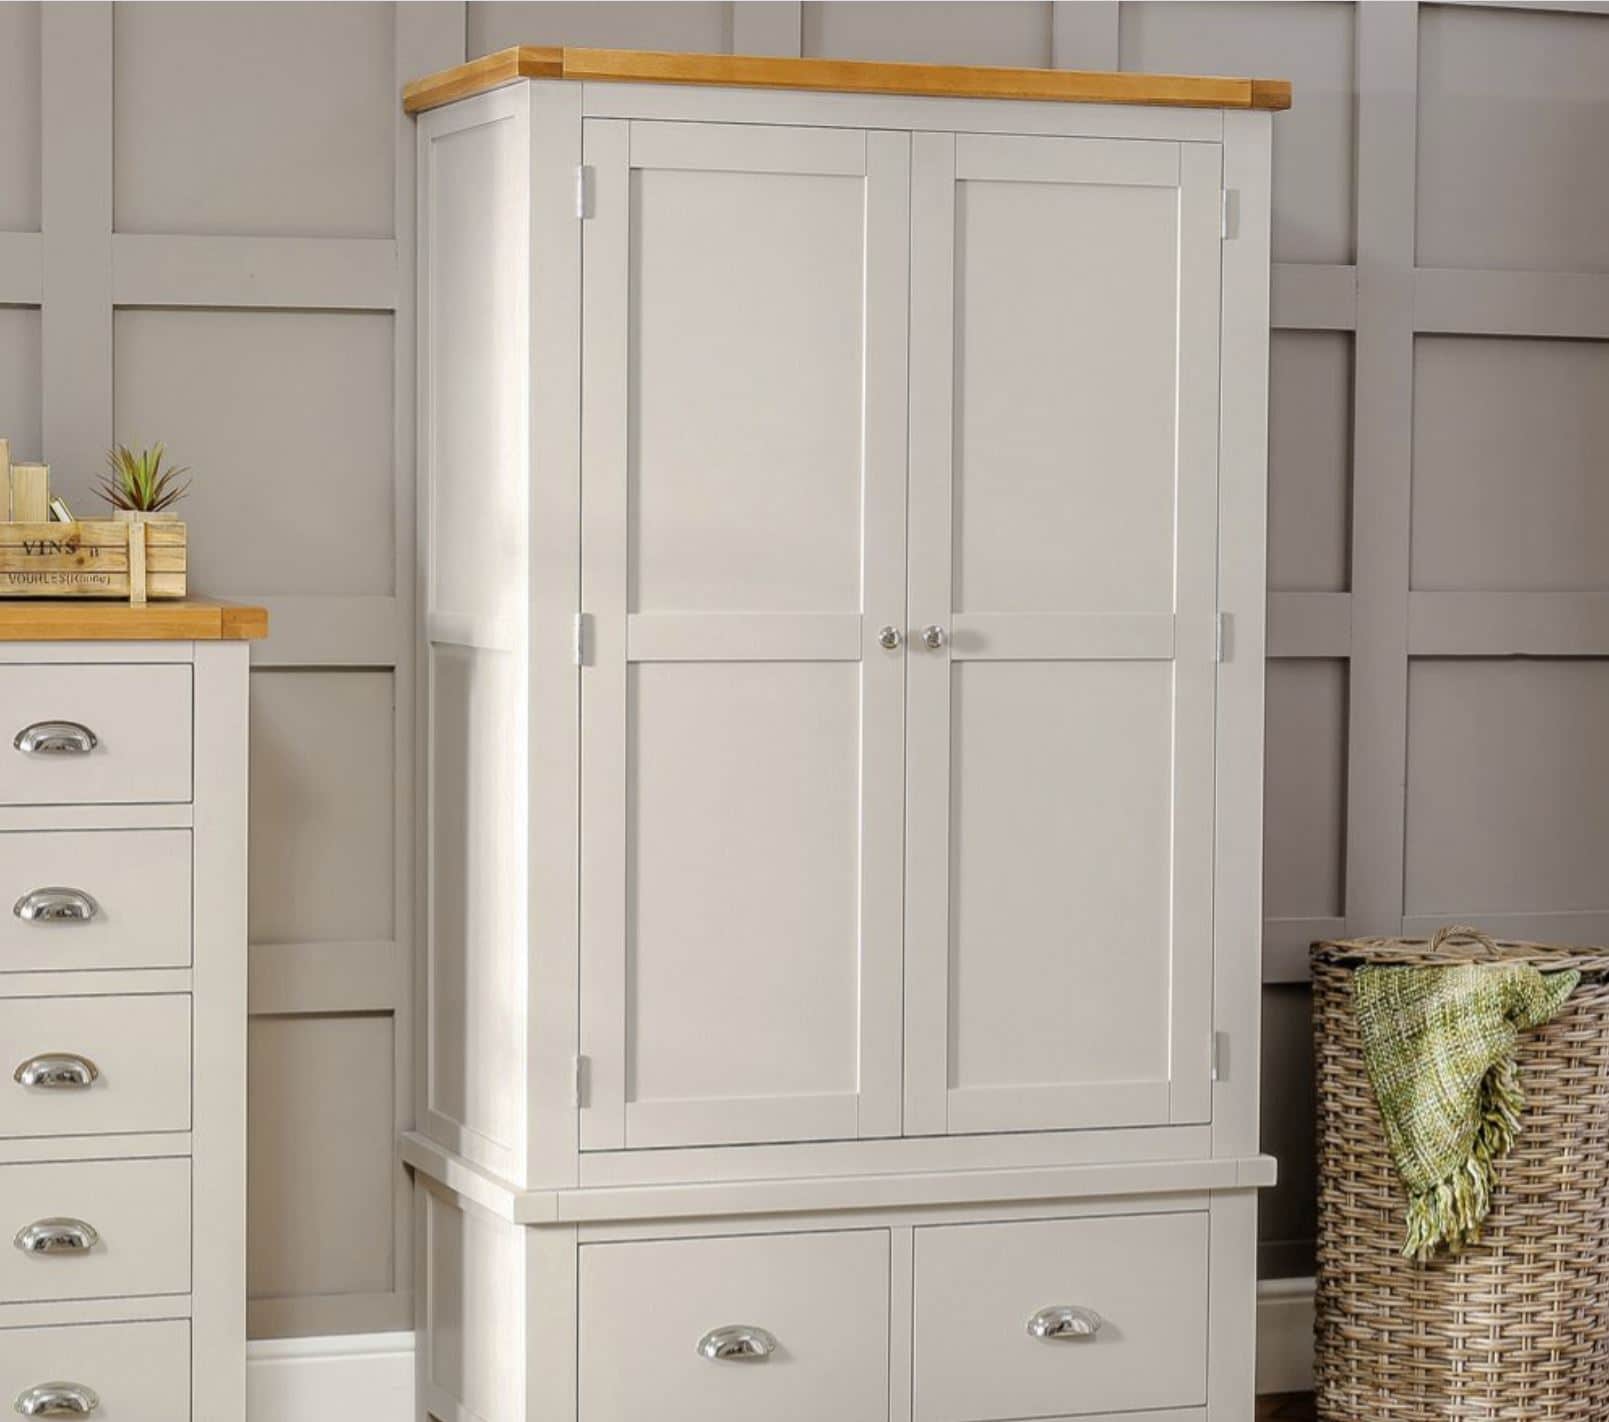
Shabby Chic furniture is a must have furniture style this season as it provides a light and uplifting fininsh that suits a vast range of interior designs and decors. This versatile style of furniture can be purchased in a selection of styles and colours or can be handcrafted using simple steps and tools.
Here is our step by step guide to creating a personalised shabby chic furniture item that can be revamped to your exact tastes and needs:
What you will need:
A old or reclaimed furniture item
Newspaper or an old sheet (to protect your floor)
A selection of simple tools (pliers, screwdriver etc)
All purpose wood filler
A selection of sandpapers
Several cleaning cloths
Low tack masking tape and scissors
Primer/undercoat (optional but creates a longer wearing finish)
Paint (water-based acrylic or specialised wood paint)
Various sizes of paint brush
New handles (if required)
Paint stripper (if needed)
Clear furniture wax
Step One - Remove Handles
Always remove any old handles on your chosen furniture item before beginning the transformation process (even if you are planning on keeping the handles the same) as this ensures a thorough covering of paint across the whole of the items exterior. This can be easily achieved using an appropriate screwdriver to remove the screws from the back of the drawer front.
Step 2 - Fill Any Holes Or Dents
Fill any holes that have been left by the removal of the handles, however if you are re using the same handles or ones of the same size then you can leave the holes as they are to save time drilling any new ones. While you are filling these holes, check the remainder of the item to ensure that there are no other damaged areas that can be filled at the same time.
Step Three - Prepare The Item's Surface
Cover your flooring with an old sheet or newspaper and begin to prepare your item. If the item is already painted then you can easily remove the current paint finish with paint stripper or if the item is varnished or waxed then begin to remove the finish with a FINE GRADE sandpaper (so you do not damage the grain). This will roughen the items surface area making it easier for the new paint finish to stick to the exterior. Wipe with a damp cloth to remove any dust particles. Always ensure that you work in a well ventilated area or take the item outside if it is a dry day.
Step Four - PrimeYour Item
Mask off any areas that do not need to be painted or mask off a pattern if your feeling extra creative (stripes work well) and then paint the item with your chosen primer or undercoat. If your item has drawers or doors or any interior areas, always paint the inside first, then leave to dry before proceeding to priming the exterior. Ensure all exposed areas are covered.
Step Five - Paint Your Item
Select your chosen paint colour and begin to paint your item using the same technique as you did with the primer (interior followed by exterior). It is best to paint your item using three or four thin coats as this allows the paint to adhere more strongly to the item and prevents the paint finish looking streaky. Use smaller and thinner brushes for any fiddly or intricate areas. Allow to dry fully between coats and before moving on to the next step.
Step Six - Distress Your Item
Remove the masking tape and start to add a distressed look to your paint finish. Begin by using a rougher sandpaper and then move on to a fine grade sandpaper to blend the edges into the paint for a naturally worn look. Select areas that would receive natural wear and tear over time such as table edges and drawer fronts and gently rub away at the new paint finish (less is more).
Step Seven - Finish
Apply a coat of clear furniture wax to your item, This can be done using a professional waxing brush for complete coverage and should be used on internal and external areas of your furniture item. Once the item has been completely waxed take a soft polishing cloth and buff away the wax until the surface of the item no longer feels sticky (this process should be repeated every 6 months to keep the item looking fresh). Reattach the old or new handles to any drawers or door areas and your bespoke item is complete!
For more painted furniture ideas take a look at our Pinterest board - pinterest - Painted Furniture
If you have created your own shabby chic items or are planning on following this 'How to' guide to try your hand at this DIY design then tweet us your finished designs @MarketFurniture or tag us in your Instagram posts @TheFurnitureMarket.


